A screenshot is an image file that captures what exactly your screen was showing when the screenshot was taken. The captured screenshot can be converted to JPG or any other file format for sharing it over a message board, website or other mediums. Converting screenshot to JPG may also be required for file compression and other reasons. Know about the programs to convert screenshot to JPG.
Part 1. Online Free Screenshot Converter - Save Screenshot as JPG
Online UniConverter
Main Features:
- Online UniConverter supports batch images converter.
- Simple interface suitable for first-time users.
- Conversion speed faster than other online tools.
Part 2. 2 Methods to Convert Screenshot to JPG Using System Application
You can choose to capture your screenshots in JPG formats using different methods. On your Microsoft system, Paint app can be used to capture the screenshot in JPG format. Another way is to use the snipping tool. Both the methods to convert screenshot to JPG are listed below.
Method 1: Use default Paint App to turn screenshot into JPG
Using this method, you can capture the screenshot of your screen and then convert it to JPG using the free Paint app on the system.
Step 1. Launch the screen or the image for which you want to take the screenshot.
Step 2. On your desktop, click on the Prt Sc (Print Screen) button. In many keyboards, you may require to press the function (Fn) key along with print screen option.
Step 3. Open the MSPaint app on your PC and paste the copied screenshot.
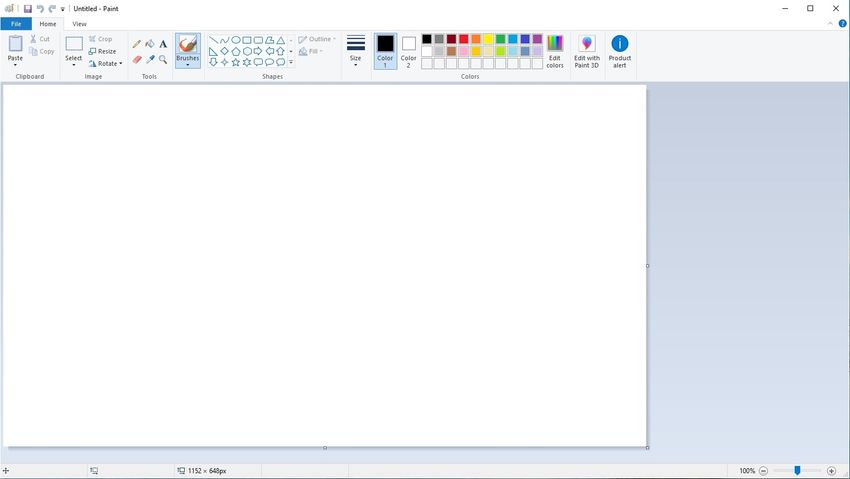
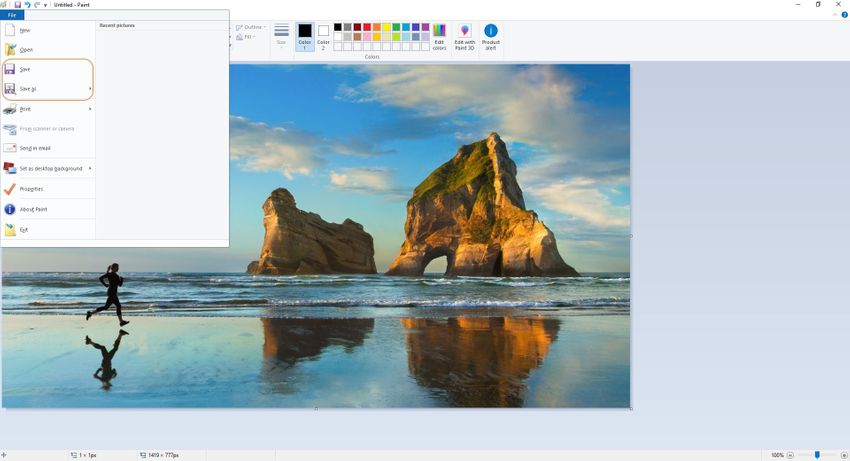
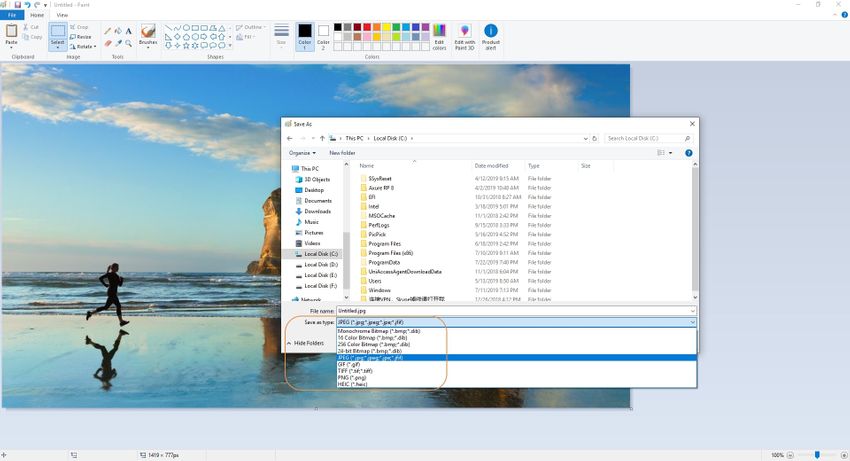
Step 4. As the screenshot image is copied to the paint application, click on the File menu or the icon from the primary app interface. Choose Save As > JPEG Picture and a new pop-up window will open. Here choose the file name and the location where you want to save the screenshot image.
The captured screen will be saved in JPG format.
Method 2: Use Snipping tool to convert screenshot to JPG
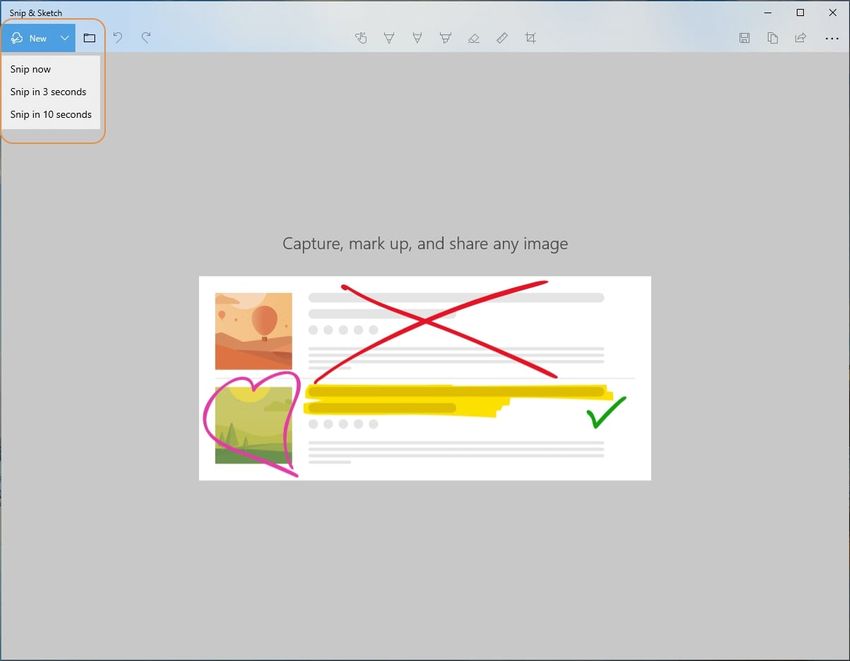
Another way to capture screenshot is to use Snipping tool which is a Microsoft Windows utility app for taking the screenshot. The app comes with Window Vista and later OS versions. Using the utility, the screenshot of an open window, the entire screen, free area, or rectangular area can be taken. These captured snips can be then stored in desired image file format, MHTML format or can be sent through an email as well.
Step 1. At your Microsoft Windows PC, click on the Start > All Programs > Accessories button. Scroll down to select the Snipping Tool option.
Step 2. At the Snipping Tool dialog box, click on the New button to select the type of screenshot to be captured. By default, the app captures rectangular snip.
Step 3. Choose the area to be captured and it will appear in the Snipping Tool window.
Step 4. You can mark the captured screen using the pen or the highlighter tool. Erase tool can be used to remove anything if needed.
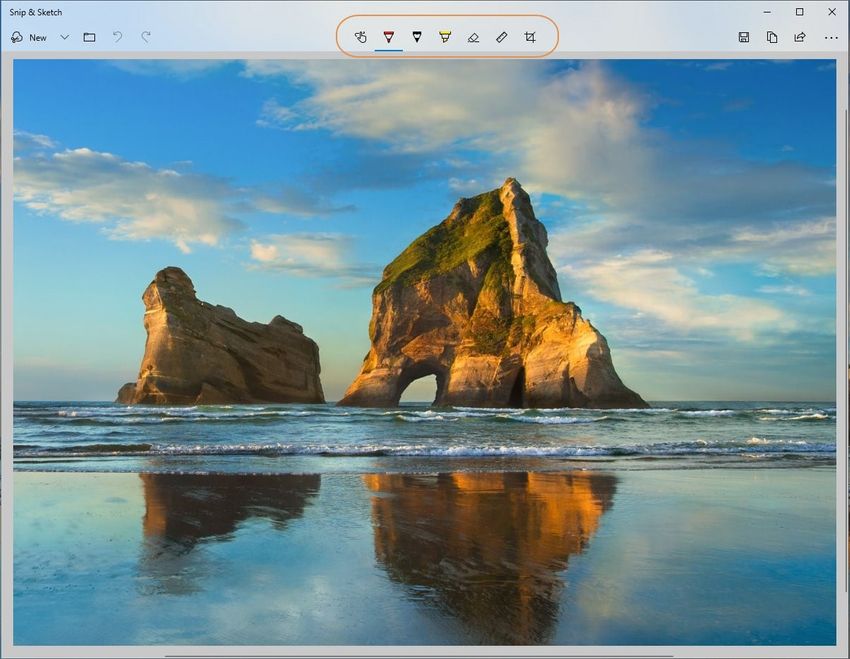
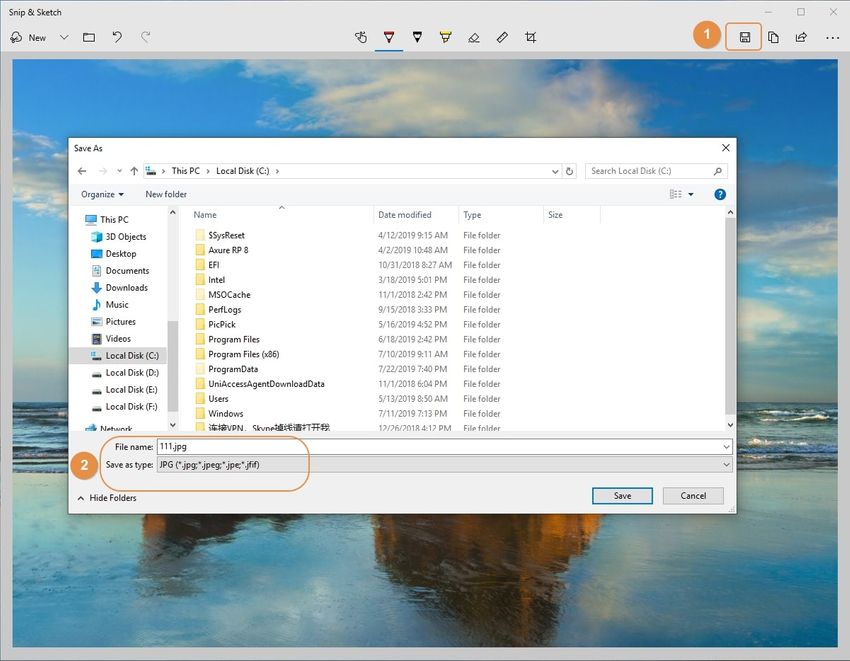
Step 5: Click on the Save icon and a dialog box will open. Here choose the PC location to save the screenshot. Also, select a name for the screenshot which by default is Capture. By default, the app saves your screenshot in JPG format. In case if it is in any other format, you can choose JPG from Save as Type option. Finally, click on the Save button to save the captured screenshot in JPG file.
Comparison of the 2 Methods
Above, we have discussed Print Screen Paint and Snipping Tool as the 2 ways to convert screenshot to JPG format. Though both these methods are simple and quick, the snipping tool app offers more options and flexibility. Using the Snipping Tool utility, you can capture an entire screen, a rectangular area, a specific window or any irregular freestyle area as needed.
The option to highlight an area or mark it can be done, both in Paint as well as Snipping Tool utility. So for better and customized areas selection for capturing the screenshot, Snipping Tool is a better method.
Part 3. How to Make a Screenshot? [2 Handy Tools]
In addition to the built-in applications, a number of programs for capturing screenshot are available.
a. Free Software for the Screenshot- Wondershare UniConverter
Wondershare UniConverter is decent desktop software that supports a range of functions including screenshot capture. Using the tool, you can capture a screenshot from your image, video or any other file in JPG and BMP format.
- · Support batch processing of screenshot to JPG conversion.
- · Convert image to over 1000+ formats, including JPG, PNG, BMP, TIFF, GIF, and others.
- · Convert screenshot to JPG or other formats without any trouble.
- · Versatile toolbox combines Image Converter, GIF maker, video compressor and screen recorder, and others.
Step 1. Load File to Wondershare UniConverter
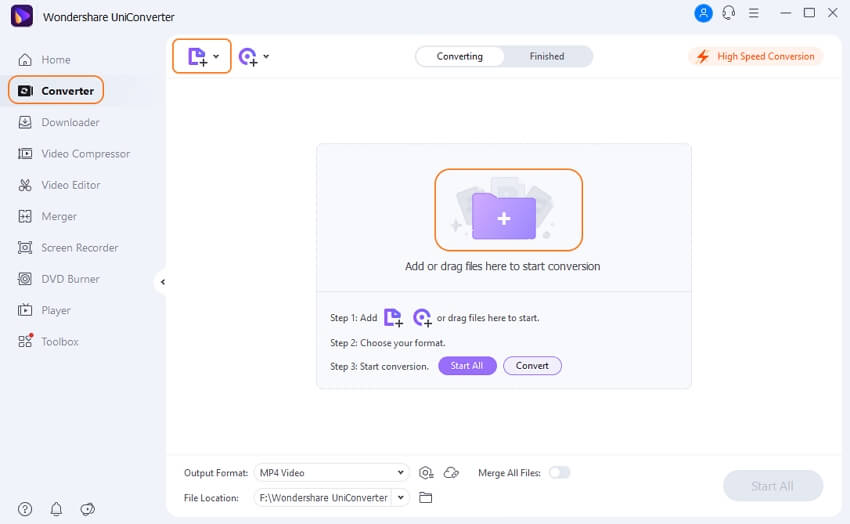
Step 2. Play the File
The added file will appear on the interface along with a thumbnail image. Move the mouse over the thumbnail image and a play icon will appear. Click on the icon to start playing the file in the new pop-up player window.
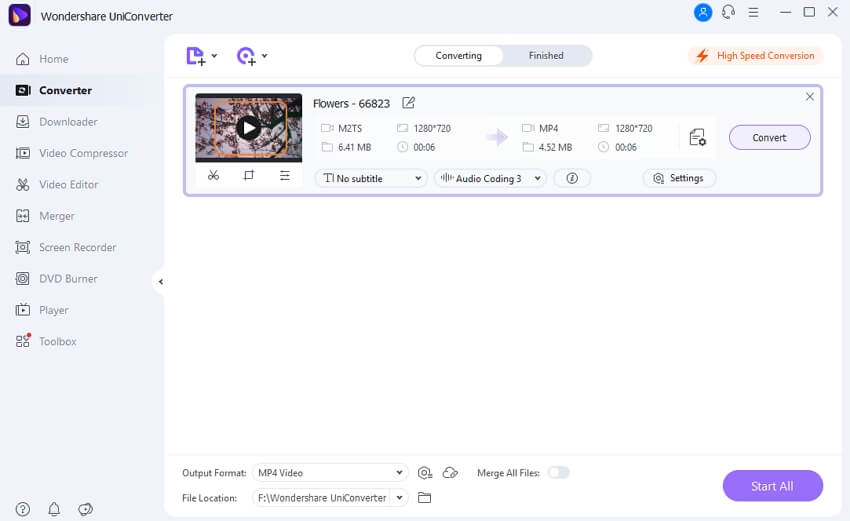
Step 3. Capture Screenshot
As the file plays click on the drop-down menu next to the camera icon at the bottom-right corner at select Settings button. From the pop-up Settings window, choose JPG as the desired format. At Save to: tab, choose the location on your computer where you want to save the converted screenshot.
Click on the OK button.
You can open the PC location selected to see the captured screenshot in JPG format.

Pros:
- Free to use software
- Allows to capture screenshot from a wide range of file types and formats
- Supports a list of other functions like video conversion, editing, and download
Cons:
- The processed files come with a watermark
- The program comes with ads
- Does not offer the option to choose the area to be captured
Download now!
b. PicPick- Free Desktop Screenshot Software
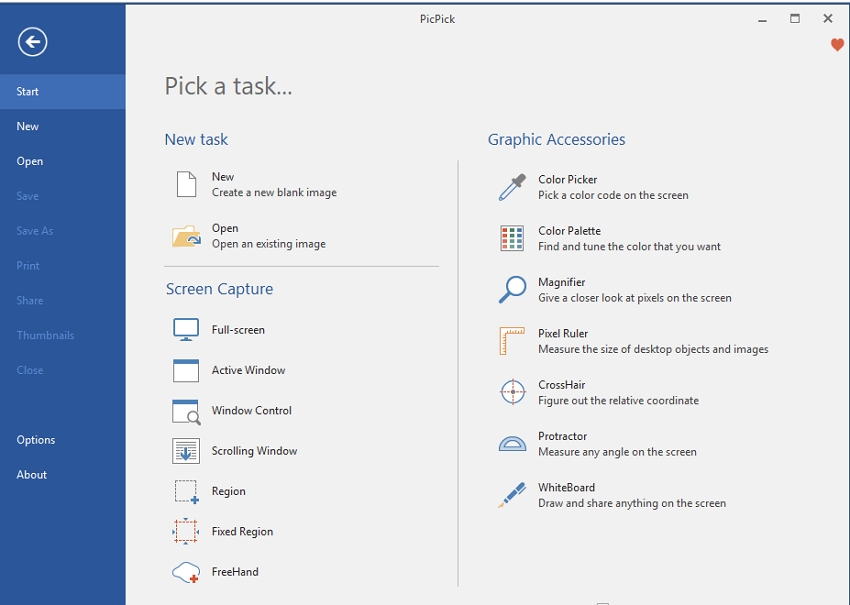
PicPick is popular and free to use software that facilitates creating as well as editing the screenshots. The software is compatible with Windows OS and can be installed or can also be used as a portable app. Additionally, the program works as a feature-packed designing tool with options like image editor, color palette, crosshair, protractor, pixel-ruler, and magnifier. The captured screenshot using the program can be saved in JPG, PNG, BMP, GIF, and PDF format. You can capture an entire screen, active window, a fixed region, a scrolling window, and even a free hand area using the tool. You can open a saved file or capture a new one as required to save it as a screenshot.
Guide on How to Convert Screenshot to JPG Using PicPick
Step 1. Download, install and launch the PicPick app on your Windows PC. The program can be downloaded from https://picpick.app/en/
Step 2. On the main interface, the options for selecting the capturing area are present under Pick a task section. You can also open an existing file on your PC by clicking on the Open button. To take a screenshot of the running screens choose the areas required from the Screen Capture section. Click on the New button will allow creating a new blank page.
Step 3. The captured or selected area will open in the PicPick app. Here you can edit it in a number of ways using built-in tools. The captured screen can also be resized if needed.
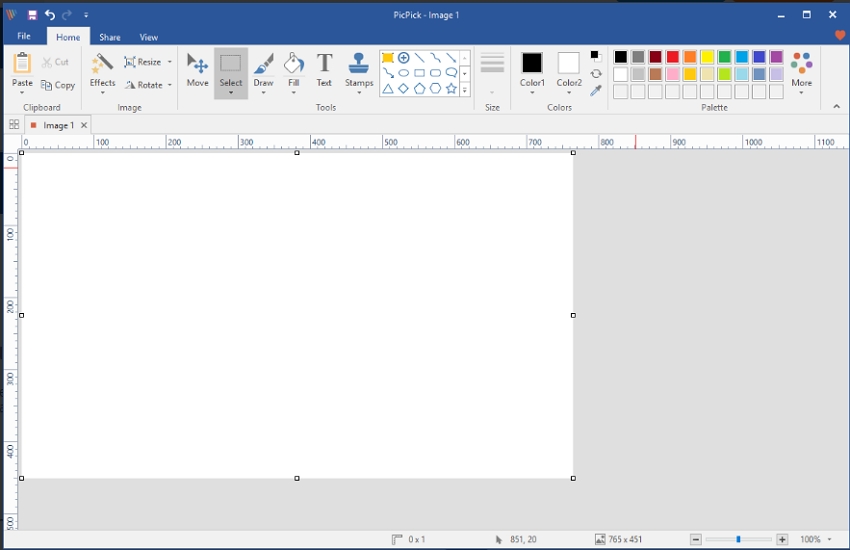
Step 4. Once the editing is done, click on File > Save As > JPG. Choose the desktop location and the file. Finally, click on the Save button to save your captured image in JPG format.
Pros:
- Allows opening an already saved file for capturing a screenshot
- Screenshot area can be selected from the number of available options
- An array of editing features supported
Cons:
- Needs download and installation of additional software on your PC
- To use the advanced features, you need to study the software thoroughly
So capture and edit screenshot using the above-mentioned tools to make your presentations, tutorials, guide, and other material more effective and detailed.